Capturing Stand-Alone Nightscapes

Views of the Eastern Sierra and Owens Valley from the Eastern Sierra Observatory
Capturing astrophotography through a telescope - galaxies, star clusters, nebulae - is exhilarating and exciting, and nightscape composites using consecutively shot foregrounds and tracked skies can be amazingly rich in detail. But, as newer cameras produce higher quality images at higher ISOs, shooting stand-alone nighttime photography presents a simplicity that allows one to capture amazing scenes with ease, while also allowing plenty of time enjoy the moment in the flesh.
Let’s keep it simple.
Equipment needed:
Camera
Lens — preferably a “fast” lens with focus at infinity all the way to one side of the focus ring (opposite of the Canon kit lens, for example, which has focus to infinity somewhere near the middle of the focal ring movement)
Tripod
Intervalometer (also referred to as a timer — about $20 on Amazon)
Camera Settings:
Enable expanded ISO through the custom functions menu if available
Turn screen brightness down
Make sure you’re shooting the highest quality RAW (plus JPEGs if you want)
Turn long exposure noise reduction on (optional, more on this below)
This particular shot was captured on the fly with a dying battery which didn’t even allow for time to grab a tripod
Procedure:
Mount your camera on the tripod and connect the intervalometer. Turn camera to the “bulb” setting to yield control of the shutter to the intervalometer. Switch the lens to manual focus and set it to infinity. Some zoom lenses, such as the Canon kit lens, have to be positioned somewhere in the middle of the focal ring movement to be at infinity — these lenses can be extremely hard to obtain precision focus because of this. If you are using one of these lenses, or having trouble achieving focus, try using the camera’s Live View pointed at a distant bright object to find the infinity position, or, get a different lens which has focus at infinity all the way to one side of the focal ring movement so you can find it more easily.
After your camera is mounted, timer connected, and lens focus is set to infinity, open up the aperture all the way, and set the ISO as high as it can go (yes, do it), then frame your shot. It will likely be dark, and possibly hard to frame, and this is why you’ve set the ISO so high. After you think you’ve got your frame, press the button on the intervalometer to actuate the shutter for 5 seconds or so, and look at the preview. Due to the blown out ISO setting you should be able to quickly see your frame, make any adjustments, and repeat the process until the composition looks good.
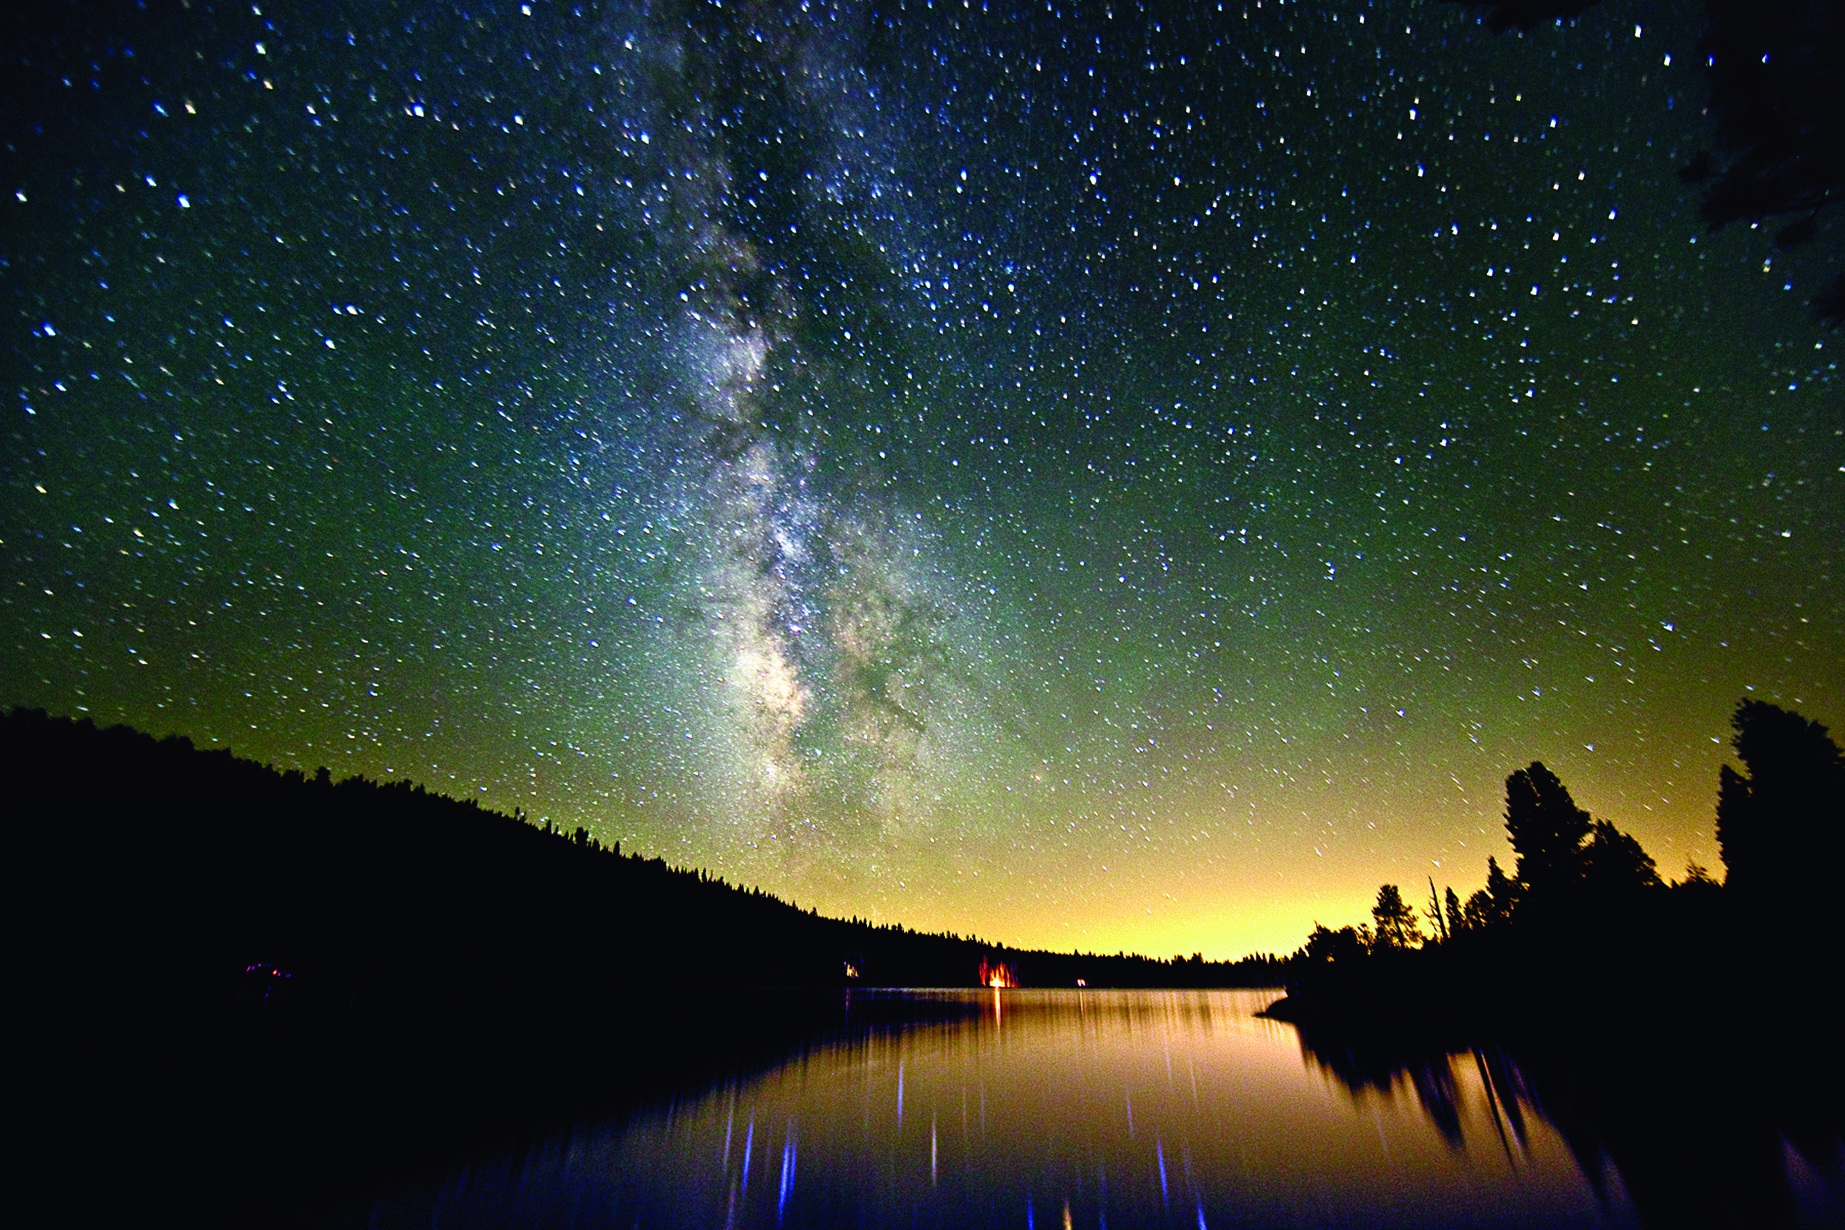
Pinecrest Lake lies in California’s Sierra Nevada
After your frame is set, change the ISO to something like 1600 or 3200. These are good initial ISOs to use. Depending on how well your camera handles noise, you may be able to get away with ISOs as high as 6400, but beware that images shot at such high ISOs may look okay on the camera’s preview screen, but could very well be full of noise upon further inspection. You’ll have to play around a bit and see what ISO your camera can handle. Keeping it around 1600 is a safe bet, but you should also push the limits a bit and see how high you can go before the noise is intolerable.
Depending on how awesome your lens is, you’ll likely want to leave the aperture all the way open, or, maybe close down one stop. Obviously it would be awesome to close down a bit to get those stars as pin-pointy as possible, but we don’t really have that luxury as we really need to capture as much of this faint light as possible. Experiment with a completely open aperture as well as bracketing down a little, and see what you think.

The center of the galaxy soars over a Joshua Tree outside of Death Valley
Now that your ISO and aperture are set, you’ll need to figure out an initial exposure time. If you’re looking to keep the stars crisp, which is what we’re after here, then you’ll need to set your exposure time based on what focal length you’re using. For stand-alone nightscapes, regular and wider angle lenses are preferred because they can handle longer exposure times before stars begin to trail. Use the chart below to estimate your initial exposure time. Keep in mind that you should always zoom in on the previews after your first few shots and do a little trial and error to be sure you’re maximizing the exposure time — notch it up second by second until you find the limit before star trails are apparent. You’ll find that the limit will change a little bit based on where you’re pointing in the sky as well. When pointing towards the celestial equator, the stars will trail a bit quicker than when aimed near the poles. You want to record as much information as possible, so be sure to find the maximum exposure time for your shot. Unless the moon is visible or you’re near light polluted skies, it’s very unlikely that’ll your exposure time will be too long no matter what. Speaking of moonlight… it should generally be avoided for nighttime photography. Crescent moons can sometimes provide some nice, subtle foreground lighting, but any more moonlight than that will mostly wreak havoc on your shots.

NOTE: These exposure times are only guidelines — they can be pushed in some cases! Trial and error will give you a more precise exposure time. Start with the number on this chart and then notch up until you begin to see trails. Then you’ll know the limit for what you’re shooting at that moment on that night.
Then, dial the rest of the settings on the intervalometer to something like this:
4 second delay
Exposure time based on focal length (see chart)
1 image
0 second intervals
Sound off
You can of course change these intervalometer settings to your liking, but this is what I typically use.

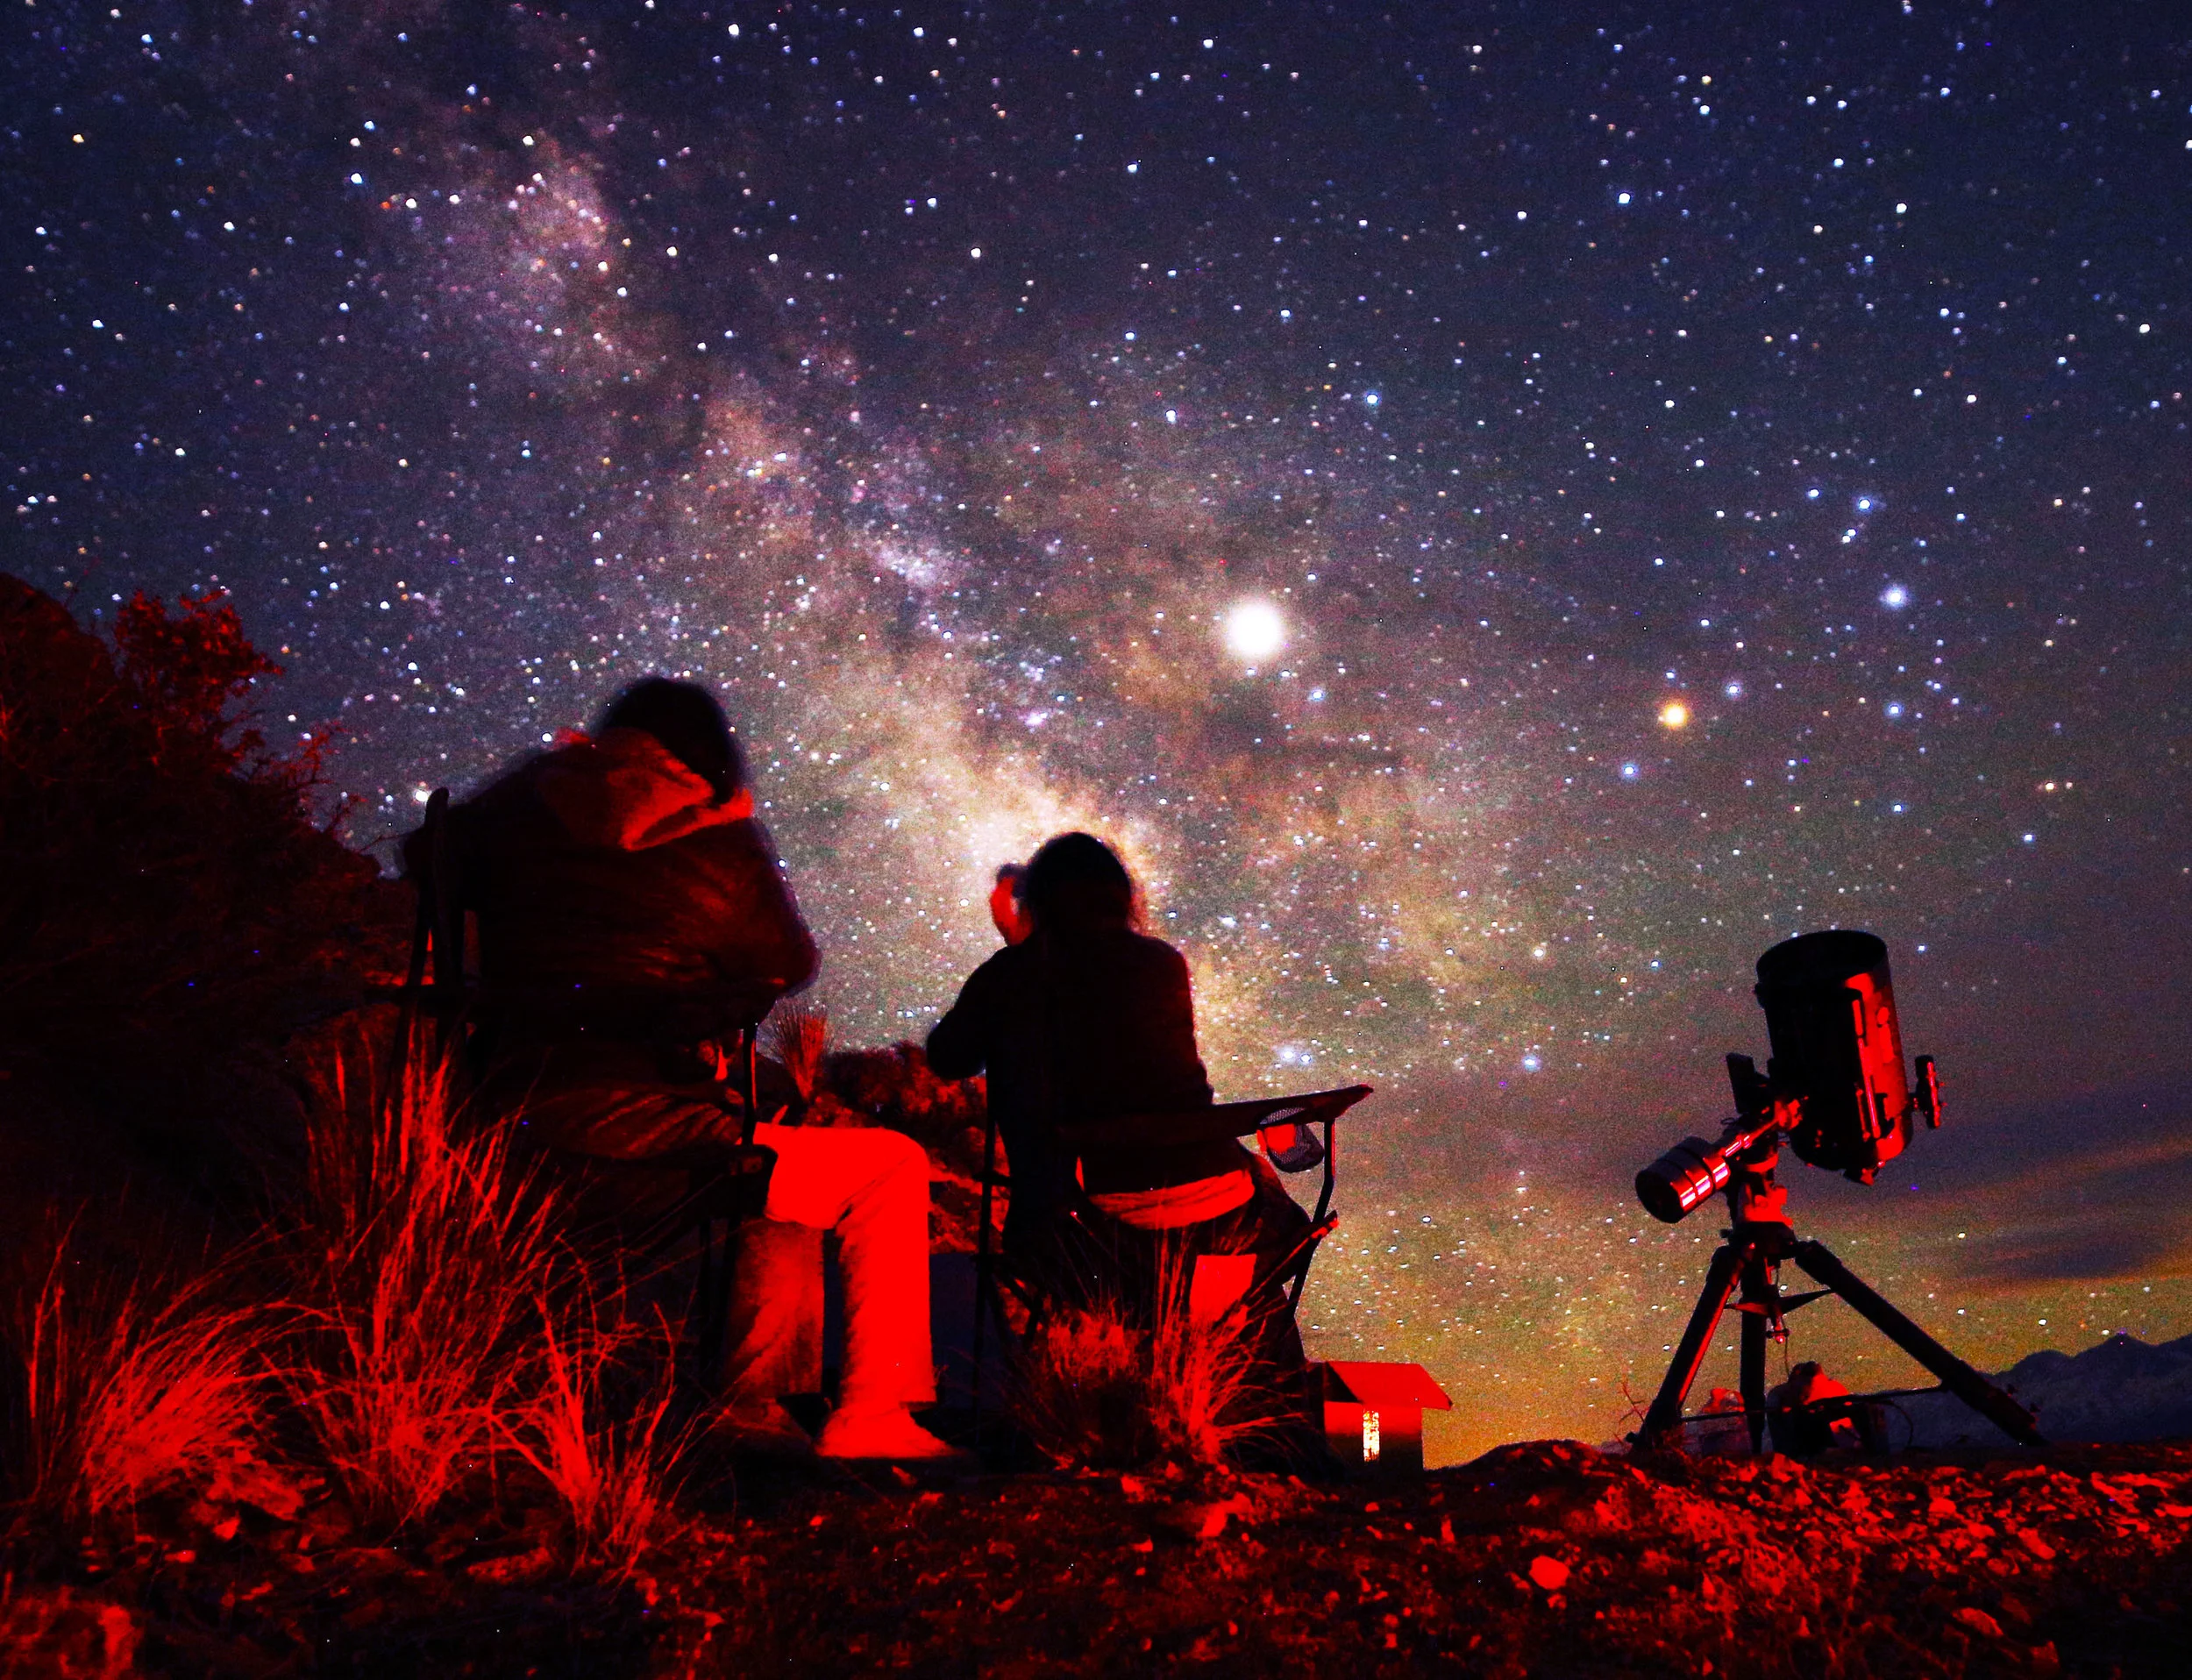
The sky is alive over a star party at the Death Valley Stargazing Camp
As mentioned, you’ll want to play with the ISO and aperture settings to optimize your shots to your liking, but the suggestions laid out here should have you well on your way. Don’t forget that interesting foregrounds are also important in making an image stand out. Some nightscapers even like to light their foregrounds in some manner, although since I typically do not, I’ll leave that potential aspect for you to further research if desired.
If the long exposure noise reduction is activated in the custom functions menu, then the camera will automatically capture a consecutive “dark frame” of the same exposure time as the “light frame.” It then subtracts this dark frame from the light frame to reduce thermal noise. Dark frame subtraction can especially help as ambient temperatures rise. Do some tests — take the same shots with and without long exposure noise reduction, then compare them for yourself and decide if/when you want to use this feature.

A SHIFTPOD shines under the Milky Way at the Eastern Sierra Observatory
After you’ve captured your shots, you may want to do some light editing — if you’re like me, you haven’t got time for anything beyond that, and you strive to keep it simple anyways . Stay tuned for some light editing tips coming soon.
Scott Lange holds a B.S. in Astrophysics from the University of California Santa Cruz, and has been capturing the cosmos for over 10 years. He spends his nights as part of Dark Sky Photography and operator of the Eastern Sierra Observatory.